
DEVOUR Feed And Grow How to Become an Apex Predator
Turn unlimited growth into real server pressure without throwing your run in THE DEEP.
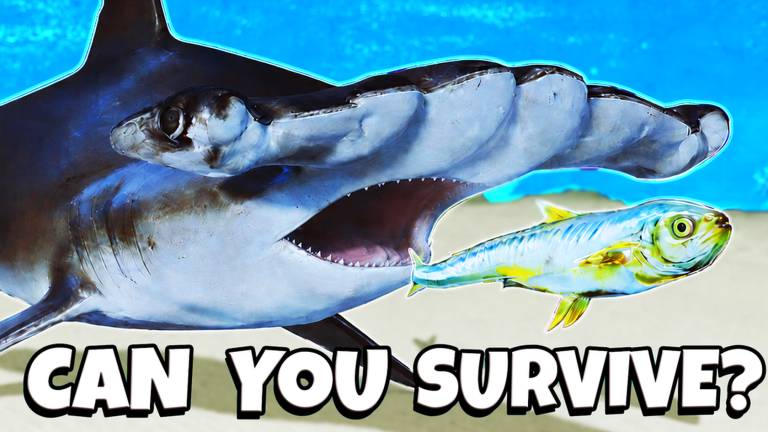
Becoming apex in DEVOUR Feed And Grow (Roblox: DEVOUR Eat Fish & Ocean Animals by Elasmonian Games) is not a single unlock button. It is a paced climb through reef mass, open-ocean confidence, predator unlocks, and PvP discipline until you can contest THE DEEP without feeding the next hunter.
This guide stitches together the late-game plan. Pair it with How to Grow Fast, How to Unlock Predators, PvP Food Chain Tips, and How to Survive THE DEEP. For zone sequencing, read Zone Routes. For mid-chain identities such as barracuda-style hunters, see Mid-Chain Hunters.
What “apex” actually means here
Players use “apex” for three overlapping ideas:
- Unlock apex — you can select a top-tier shark or prehistoric form marketed in the food chain (megalodon, mosasaurus, bloop, orca, and similar silhouettes players chase).
- Play apex — you survive long enough in contested water that other players treat you as the threat, not free mass.
- Dominate a lobby — you control feeding lanes and punish greedy mid-tier hunters.
Only the first is a progression checkbox. The other two are skills. This page aims at all three without inventing fake instant-unlock steps.
Phase 1 — Build unlosable reef mass
Skip cinematic THE DEEP rushes on a fresh life. Your first job is boring and correct:
- Feed in the reef until bite confidence and escape angles feel automatic.
- Leave contested bait piles when two larger silhouettes already orbit them.
- Grow until open-ocean travel no longer feels like a panic sprint.
Use the Growth Checklist as a session gate. Apex runs die most often because players skip this phase and arrive undercooked.
Phase 2 — Convert size into predator rungs
Once reef growth is stable, push mid-chain forms that match your aggression style. Mid-chain hunters (including barracuda-style paths popular in player videos) excel at punishing smaller fish while still respecting true apex silhouettes. Unlock when you can use the form, not the second it appears in a menu.
Checklist before each unlock:
- Can I win most same-size fights in my current zone?
- Do I have an escape lane if a larger player joins the chase?
- Am I unlocking because I am ready, or because a highlight reel made me impatient?
Cross-check community grades on the Creature Tier List and Mid-Game Tier List, then confirm in your own lobby after the latest republish.
Phase 3 — Open ocean as the apex factory
The open ocean is where serious mass accumulates without the full delete risk of THE DEEP. Treat it as your factory:
- Hunt long lines of mid prey instead of random spinning.
- Break pursuits early if you lose visual control of who is behind you.
- Rotate food lanes so you do not farm the same death corner twice.
Zone Routes explains reef → open ocean → deep timing in more map detail. Apex candidates who skip open ocean usually lack the stamina habits needed for deep ambushes.
Phase 4 — Enter THE DEEP with a job, not a vibe
THE DEEP is where apex fantasies are proven or deleted. Enter with:
- A size buffer large enough that one missed bite does not force a full reset.
- A retreat path toward mid-depth water you have already practiced.
- A clear goal: contest a feeding event, scout a new silhouette, or finish an unlock trial — not “wander until something cool happens.”
Read How to Survive THE DEEP and the Zone Risk Guide before treating dark water as a farm. Apex status does not remove physics; it only widens which fights you can choose.
PvP rules that keep apex runs alive
- Never finish a contested bite if a larger unknown silhouette is already committed.
- Never celebrate a kill in open water with your camera locked on the corpse.
- Never assume a quiet lobby will stay quiet after you grow loud.
- Do assume that script users and over-aggressive mid-tiers will throw themselves at you — punish greed, do not chase pride.
For baiting and disengage timing, stay inside PvP Food Chain Tips. For account-risk “instant apex” tools, skip the Scripts Hub fantasy and keep fair progress.
Session planner for apex attempts
- Warm up five minutes in reef water to confirm controls and bite feel.
- Hit your mid-chain unlock target if you are not already on it.
- Farm open ocean until you hit your personal “deep-ready” size marker from the Session Planner.
- Take one focused DEEP excursion with a retreat rule.
- If you die, restart from Phase 2 — do not tilt-dive again immediately.
Watching real apex climbs
Community gameplay such as long evolve-to-power sessions shows how patience beats panic. Use videos as pacing references, not as proof that every lobby has the same prey tables. After any Roblox republish — including active August 2026 development — re-test which apex names are actually present before rebuilding your whole plan around a rumor.
Cross-links that finish the climb
- How to Unlock Predators
- Apex Predators Tier List
- Deep and Prehistoric Creatures
- Latest Update and August 2026 Notes
- Codes Hub if a milestone promo appears
Apex in DEVOUR is earned mass plus clean decisions. Grow on purpose, unlock on purpose, dive on purpose — and the food chain starts hunting for you instead of the other way around.
Frequently Asked Questions
Quick answers to the most common questions.
What is the fastest way to become apex in DEVOUR Feed And Grow?
There is no honest instant path. Stack reef mass, convert it into mid-chain predator unlocks, farm the open ocean, then enter THE DEEP only with a retreat plan.
Do I need a script to reach apex predators?
No. Scripts risk bans and account theft. Use growth routes, predator unlock timing, and PvP discipline instead.
Should I rush THE DEEP as soon as I unlock a strong form?
No. Unlock readiness and deep readiness are different. Prove the form in open ocean before treating THE DEEP as a farm.
Which pages should I read with this apex guide?
Pair it with How to Grow Fast, How to Unlock Predators, Zone Routes, PvP Food Chain Tips, and How to Survive THE DEEP.
Do megalodon or mosasaurus guarantee apex status?
A strong form helps, but lobby skill and zone timing decide whether you dominate or become someone else’s highlight.